PLEASE NOTE, THIS POST CONTAINS UPDATES TO PREVIOUS POSTS - BOOST 1.62.0 NO LONGER TAKES THE "MinGW" DIRECTIVE, TO USE MINGW YOU NOW ONLY NEED PASS THE "GCC" DIRECTIVE; see section 5.2.2 at this link...
Today I'm going to do some code, this is a code example with Code::Blocks using the Mingw compiler on Windows, to build the boost libraries and then use the boost.filesytem library to find a specific file from a given root, first just looking in that directory at all its files and the finally making it recurse down the tree of files.
First things first, lets create a folder to work in, I'm going to call it "FindaFile", inside this I'm going to create "ext" for external items, which is where I'll place & build boost; and I'll create "src" for source which is where our project file & source code will reside... Lets get started...

Next...

Extract the boost library, I happen to be using 1.62.0, which is the current version at the time of writing... And I then need a command prompt which knows the location of the compiler for mingw (i.e. we've added it to the PATH environment variable)...

We're preparing to build boost with the mingw toolset...

And then performing the boost build, which on this machine is going to take a long time as I only have 2gb of RAM... Hit that donate button to help me improve some of my machines!

So the path was set, the bootstrap is performed:
bootstrap gcc
and then I start the build
b2 toolset=gcc

Once the build is complete the two folders we will be using in our code-blocks project are the "boost" folder within the boost_1_62_0 folder; this contains all the header files for the boost library. Some of the libraries are header only, so just including this folder into your builds (on gcc with "-I /foldername/") is enough to use boost, items like "lexical_cast" are perfect examples of this.

The other folder is the "/stage/lib" folder, this will contain all the build library binary's. When you are using the file system it is not a header-only library, you must link against the "boost_filesystem" library file, and this is where it will reside!
You can leave the boost build running and open Code::Blocks now...

And create a new project, with a little bit of normal code, to check everything is working & we have set it to use C++11 (I would like to use a newer C++, but I only have this old compiler installed)....


Now, lets set the build options in the project...

I am going to set C++11, all warnings and stop on fatal errors...

Then I am going to set the compiler to look in the boost folder for the headers...

And now we tell the linker were to look for the libraries....

Our final step is to tell our program to use the filesystem library, when doing this you also need to use the system library... So lets switch to the linker settings and insert those libraries...
Now, the file name we are going to add is:
libboost_system-mgw47-mt-d-1_62.a
Lets break this down, from left to right we are told the this is part of the boost library "libboost" that is is the "system" sub-library, that it was build with "mingw v4.7", that is it the multi-threaded library, that it is built "debug" and it came from boost v1.62... You need to know this, because in our previous pages you will see we ONLY set our search directories and settings for the "Debug" version of the project... When you switch to the clean, smaller, faster "Release" build you will need to set everything again!
We add this library then into the linker settings, within the link library section... We need to add this file and the filesystem file...

The IDE might ask you to add the library as a relative path, this is directly pointing to the file, and I personally do not advise this, as we've set up the "search directories" we need only enter the filename into the library list.
Now, once the boost build is completed in the background, we can use the boost file system library in our code, and check for the presence of a file....

Lets write some code to take a directory to search and a file to search for at the command line and just output them, as a starting point....
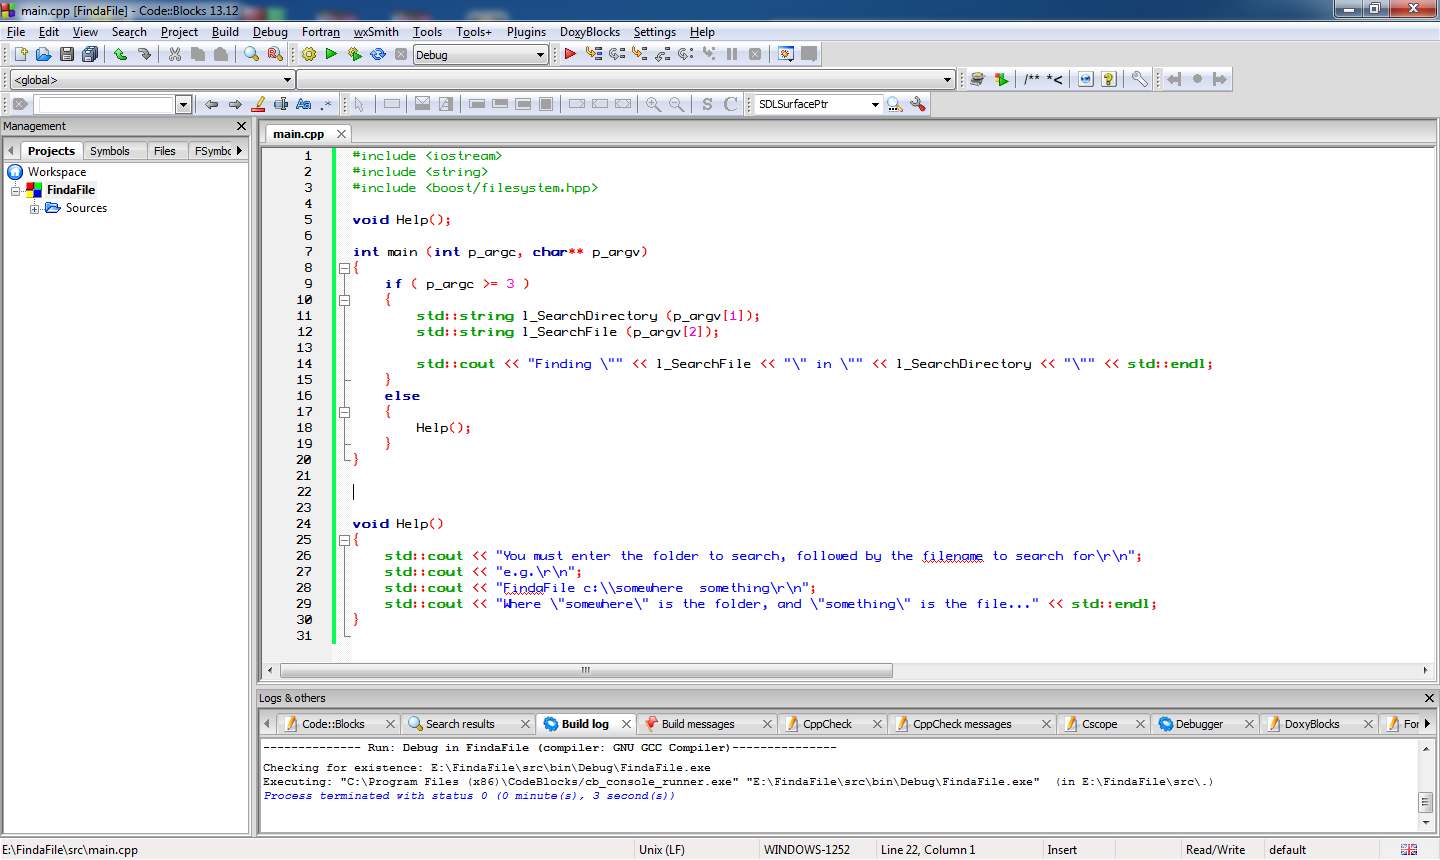
We can go into "Project" on the menu to set the parameters for the program to some useful values... I have added a "Help" function already to point out when a mistake is made... I am going to just check my code by running it without parameters, then with bad parameters and finally with a valid folder name & filename... The targets I am using is "C:\Code" a folder I know exists, and "Program.cs" to look for all the program C# files I have in that folder...
Lets see our program output at this point...

Our first calls to the boost library now are going to turn the search directory string into a path, which is easier to work with in the boost library, you don't have to perform this step most all the boost filesystem library functions will automatically cast strings or cstrings or wstrings you pass to them into boost::filesystem::path or wpath instances on the fly, however, it's in the long run quicker for your code if you convert them into paths once, rather than have the library create and throw away instances of paths over and over as you do various calls.
We will also need to check that the search directory is indeed a directory to start off from...

Next we need to iterate through the directory and for each file check if its name is a match... I am going to put this into a function straight away, so we can call into the function whenever we meet a sub-folder we can automatically queue if for searching as well....

And the code for this Search Function looks like this:
void SearchDirectory(const boost::filesystem::path& p_Directory, const std::string& p_Filename)
{
std::cout << "Searching [" << p_Directory << "]...\r\n";
std::cout.flush();
auto l_Iterator = boost::filesystem::directory_iterator (p_Directory);
// A blank iterator is the "end" point
auto l_End = boost::filesystem::directory_iterator();
for ( ; l_Iterator != l_End; ++l_Iterator)
{
// This is the type "boost::filesystem::directory_entry"
auto l_DirectoryEntry = (*l_Iterator);
// Look for subdirectories, files or errors....
if ( boost::filesystem::is_directory(l_DirectoryEntry) )
{
// Recurse down into the sub tree
SearchDirectory(l_DirectoryEntry, p_Filename);
}
else if ( boost::filesystem::is_regular_file(l_DirectoryEntry) )
{
std::cout << "Found File... ["
<< l_DirectoryEntry.path().string() << "]\r\n";
// We need to just have
// Regular files are NOT symlinks, or short cuts etc...
// So we look for a match!
if ( l_DirectoryEntry.path().filename().string() == p_Filename )
{
// Notice here that we call to get a "path"
// and then a "string" from that path!
std::cout << "!!!! Match Found ["
<< l_DirectoryEntry.path().string() << "] !!!\r\n";
}
}
else
{
// Unknown directory or file type
std::cout << "Error, unknown directory entry type\r\n";
}
}
std::cout.flush();
}
You will notice we receive a "directory_entry" from the "directory_iterator", then we get the "path" out of that, and finally the "filename" from that path... We can output any of them along the way, but we only compare the filename with the search pattern.
If the "directory_entry" was found to be a directory itself we simply recurse into another search.
This code now works....

This completes this little tutorial, if you found it of some use, please follow the blog, if you really really liked it and want to help me develop more ideas, or suggest more ideas, the donate button and e-mail link are at the top right!
Good Luck!


