Showing posts with label tamiya. Show all posts

Wednesday, 19 January 2022

Ship Diorama Build Blog : HMS Rodney : Pt15

So, I'm literally scared of rigging... It scares me.  I therefore try to keep my technique simple, a single pair of sharp scissors, a single metal tweezer, my hands and superglue.

I then let out a pool of superglue and let it cure a little whilst I unfurl a length of rigging elastic, I'm using mig's here.

Then I use a cocktail stick to put a dot of partially cured glue at the start and end points... The start I then let the rigging rest in the dot of glue and hold with my left hand and then my dominant right hand can move the rigging into place and let it sit at the right tension (or slack) in the end dot of glue.

If I use fresh glue it simply takes too long to cure, partially cured already going and it's just right, but you can end up with thick layer upon layer of it, specially when doing multiple runs - we will look at the stern of my ship in part 16 maybe....

However, for now here are some pictures of the rigging to the signal deck and bridge wing struts.


Thursday, 25 March 2021

Ship Diorama Build Blog : HMS Rodney : Pt12

You may recall my attempt at making flags on foil, well... i tried again...


Laying out foil and picking it to fit the aft flag pole...


I even got the St George cross really nicely done...


It just utterly disintegrated when lifting up from painting...


So I went back to masking tape, and made this HORRID thing... I need to work on this basically... It may take hours.


I then painted all the ships boats with a brown wood, highlighted parts in white and fitted out the main boat deck.


Plus this one dinghy I saw.


I'm not happy about that hull slung boat yet, I did it's internals wood brown, but then the hull white, and whilst handling it into position I put marks in it, the hooks aren't straight, they match the marks in the plastic but I don't like them being pigeon toed like that.  Nothing I can do now though.

I also set the guns to be trained out to port, this is the angle the model will be set at, so we can see the secondary battery port side and the main guns on the base for the first time.


Thursday, 18 March 2021

Ship Diorama Build Blog : HMS Rodney : Pt10

 Today, before I get working I thought I'd sort out the things on my desk... of course with working from home my work space is pulling double duty, but here it is.... 


Yes, that is a coffee and a pint of juice, this is hopefully going to be a nice long uninterrupted modelling session.

First things first, lets review the other three secondary battery casements and get them superglued and we can plan out the rest of the boat deck too....


I do this supergluing by actually decanting the glue onto another surface, the best I've found is the plastic coated card on pakaging, here I'm using an old packet of tablets wrapper, decant and I can dot the glue around with a cocktail stick and touch things.


I use cocktail sticks and bluetac to hold parts for painting...


So they're the three starboard side secondary battery, I give them and the others a first coat after test fitting, they all get the sky blue colour first.


I also give the two unpainted main turrets a coat of grey, then skyblue highlights


Before masking them and adding flash details in darker tones and painting the rooves.


My references here are a little hazy, so I've used artistic license.... She's my ship now.


Thursday, 11 March 2021

Ship Diorama Build Blog : HMS Rodney : Pt8

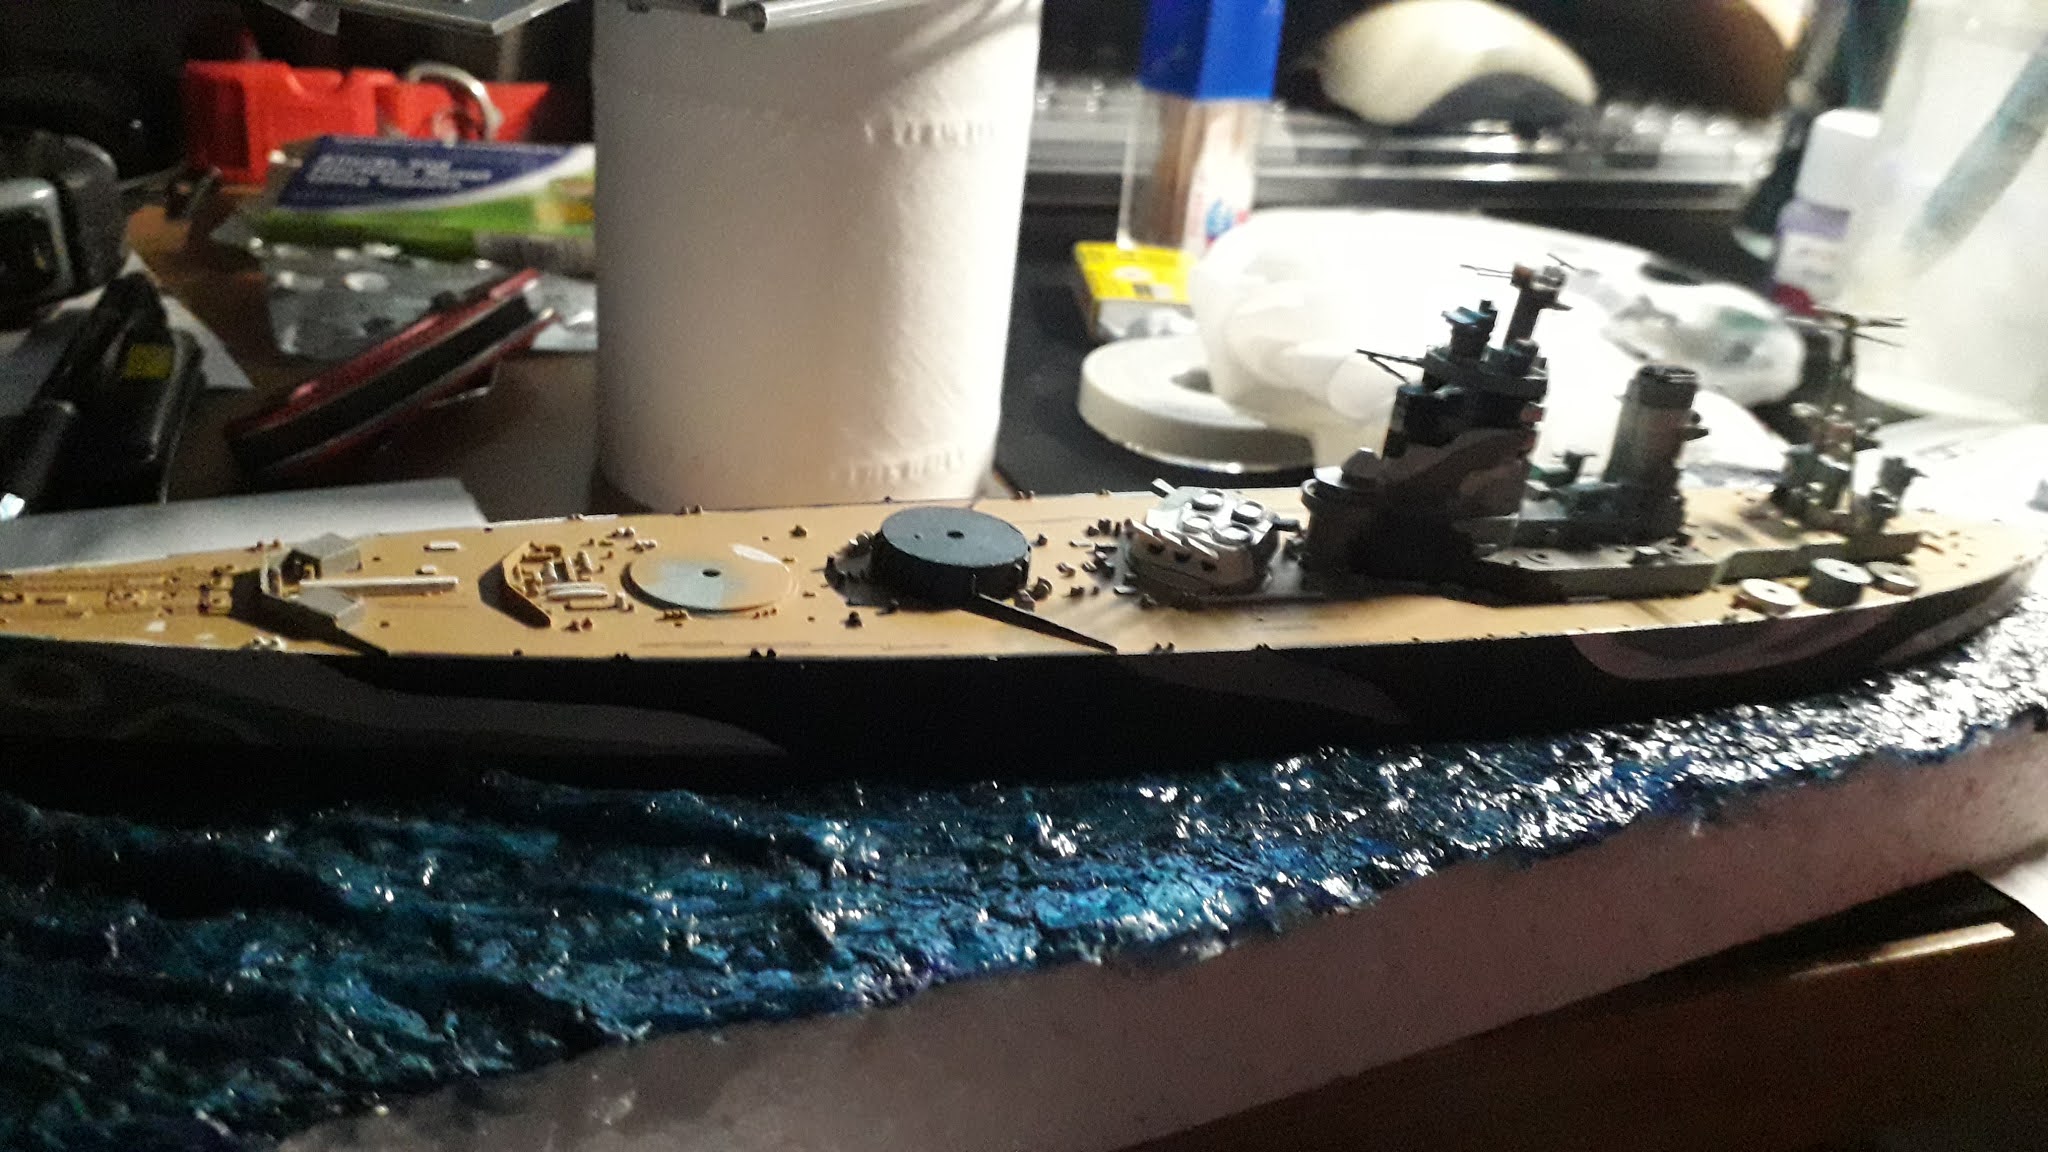
 Today is superstructure day, I spent some time detailing items on the deck, but I mainly started to colour and add the plastic parts to the superstructure island.

Aft of the island are these range finders, for some reason they look like I've painted them really heavily in this image, they're not at all....


These are very thin first coats and didn't seem to go on very well, I can only assume since washing the parts pre-build they've slowly gotten a little bit greasy from my handling them.


With that I looked back to detail the decks on the super structure too, most of this area will get rust and other weathering.

I then decided to build the mast.  Upon dry fitting I found that the rear piece here, the A-frame didn't fit, the footings needed careful and lengthy filing to make them fit into the holes in the deck, and I made a mistake.


You see I fitted the fore-mast here, connected it to the A-Frame in sheer relief that I'd gotten the latter in, after the marathon filing session.

But, of course I cocked up, and I blame the instructions here a little, I sat the little nipple on the fore mast, and thought nothing of it... but then realised a basket had to hang off of it.... GAH.


This basket is meant to be between the two, not just on the front... I think I can ignore this, my OCD won't be triggered... IT WON'T.

But I also put the rest of the mast on.  And the rear baskets.


And yes, that long boom... I broke it too... nothing a dob of superglue didn't sort, but it has a slight droop...

Around the bridge I then added the view finders and these struts were a nightmare.


Finally I wanted to see things coming together.

As per the last post I've still not picked out the deeper shade for the top of the turret, which will also go on the items atop the bridge and go on the masts.


This darker shade is either a very deep blue, or a near black.  And... well, I don't think it should be black, so I'm maybe going to mix my own aquamarine to tar black, but that will entail painting the top of the turrets the bridge top and the masts.

However, that'd ALSO mean the hull shouldn't have been tar black, so I may just go with tar black...


Sunday, 7 March 2021

Ship Diorama Build Blog : HMS Rodney : Pt7

Today, for it is a glorious weekend (for real, not just when I scheduled the post to be published) I had a good three hour stretch to work uninterrupted, I therefore started to spend time doing little details, a turret and getting ready to detail the superstructure... But along the way, I also had a self inflicted cock-up.


The funnel needed a white band around the top, and so I started to add some white details elsewhere.


A little of the black was added to the super structure in my last session, so I started to flesh things out with more of the white.


Then I got a little bored and decided "GUNS"


Using a little piece of blue-tac I elevated the guns, this set is going to be fairly highly raised and then a dot of glue to hold them at that angle.

While it dried I added the life boats to the roof.


This was done by placing the boat, turning the turret over whilst my finger was on the opposite side and giving it a touch of the extra thin cement.  And this technique, which I was using so well, would come back to bite me very soon....


These little runner like things need to sit on the deck in two holes, one at either end, either side of the fore and aft turret.

So just like the boat on the turret I held the skiddly little thing in place and inverted the hull, touching a dot of the cement on the two pins.


It was at this point I realised the tooling, and perhaps even this stamp, of the model was four years older than me, but with confidence in my old friend I dropped the second of these skips into place.


I put my finger on it and flipped the hull over.


Two dots of cement... AND MY FINGER IMMEDIATELY FELT WET.

This is bad, this means the cement has wicked out the holes, up and around my finger tip.


Which of course means that cement is melting both the plastic deck AND my lovely paint job on it.

PANICK!

I cleaned it up, with a little thinner, then scraped the flaky dried clods away and cursed myself, for this is the port-side, the main side which will be closest the viewer when displayed.


I went to do something to calm my nerves, the funnel...


And when everything had had twenty minutes I got the ocre back out and did a fine coat.


It looks worse in the picture, once dry it was fine and below the temporarily fitted gun turret it's hardly noticable, unless you know, or read this blog.

I added a few colour details to the deck and decided to leave things there for the day.  Unnerved.


The turret however needs a dark coat to the roof, and I'm yet to pick the shade... Solid black seems perhaps wrong.