Showing posts with label Modelling. Show all posts

Wednesday, 19 January 2022

Ship Diorama Build Blog : HMS Rodney : Pt15

So, I'm literally scared of rigging... It scares me.  I therefore try to keep my technique simple, a single pair of sharp scissors, a single metal tweezer, my hands and superglue.

I then let out a pool of superglue and let it cure a little whilst I unfurl a length of rigging elastic, I'm using mig's here.

Then I use a cocktail stick to put a dot of partially cured glue at the start and end points... The start I then let the rigging rest in the dot of glue and hold with my left hand and then my dominant right hand can move the rigging into place and let it sit at the right tension (or slack) in the end dot of glue.

If I use fresh glue it simply takes too long to cure, partially cured already going and it's just right, but you can end up with thick layer upon layer of it, specially when doing multiple runs - we will look at the stern of my ship in part 16 maybe....

However, for now here are some pictures of the rigging to the signal deck and bridge wing struts.


Sunday, 14 March 2021

Ship Diorama Build Blog : HMS Rodney : Pt9

I've had a very long pair of sessions, between walking the dogs and doing some other stuff, and in those two sessions I've done a little detailing of the first turret, worked on rigging, painted the rear mast and build the other main turrets and half the secondary turrets.


The rigging is Mig's 0.03mm stuff and I've had a wild time with it, lets look at some of the other lines I ran.


Initial attachment was fine.  A dot of superglue on the relaxed line and leave it to set for a good five minutes, then pull straight and stretch (for it is elastic) and drop into another piece of glue... but... Oh my, what a struggle.


I then set the aft flag pole... with it actually, unnoticed sagging and being a pain to set straight again... but initially I had it perfect, so that annoyed me.


With the rigging drying and this pole, I thought I also had a chance to play about with the flags.

So with foil down on masking take I started to try and paint a white ensign.


And I hated how it came out....

I also tried to make tiny letter signal flags, this is an X.... 

I was basing these on white matt acrylic paint, letting them dry and then using fine-liner on them.


To give you an idea of the size of these flags the main ensign compared to the side of a match head.


This came to naught.  So I decided it was time to fix the rigged super structure island.  Not wanting to get the glue leaking through I lined it up and started to see how it fit.


Not well....

It took a lot of holding to get the structure glued flat.


I then decided to build the secondary port-side battery.


I am very bemused by the range of rotation on these turrets, they would have been nearly useless on the actual ship....


I then had a piece nearly get lost... A15, the antennae...


Vanished.... I was manipulating it in a pair of tweezers and it flew off.

After stretching a piece of sprue I made a replacement.


Only to suddenly see the antennae was stuck to the starboard side of the bridge structure!


I was getting rather tired by this point.  I therefore picked a couple of low-hanging fruit items... and built the forward 16" turrets.


And as I'm writing this very post and uploading this image...


I see that the structure is not down right, so I've just pulled everything back out and added a line of extra thin glue and held it down, fingers crossed.

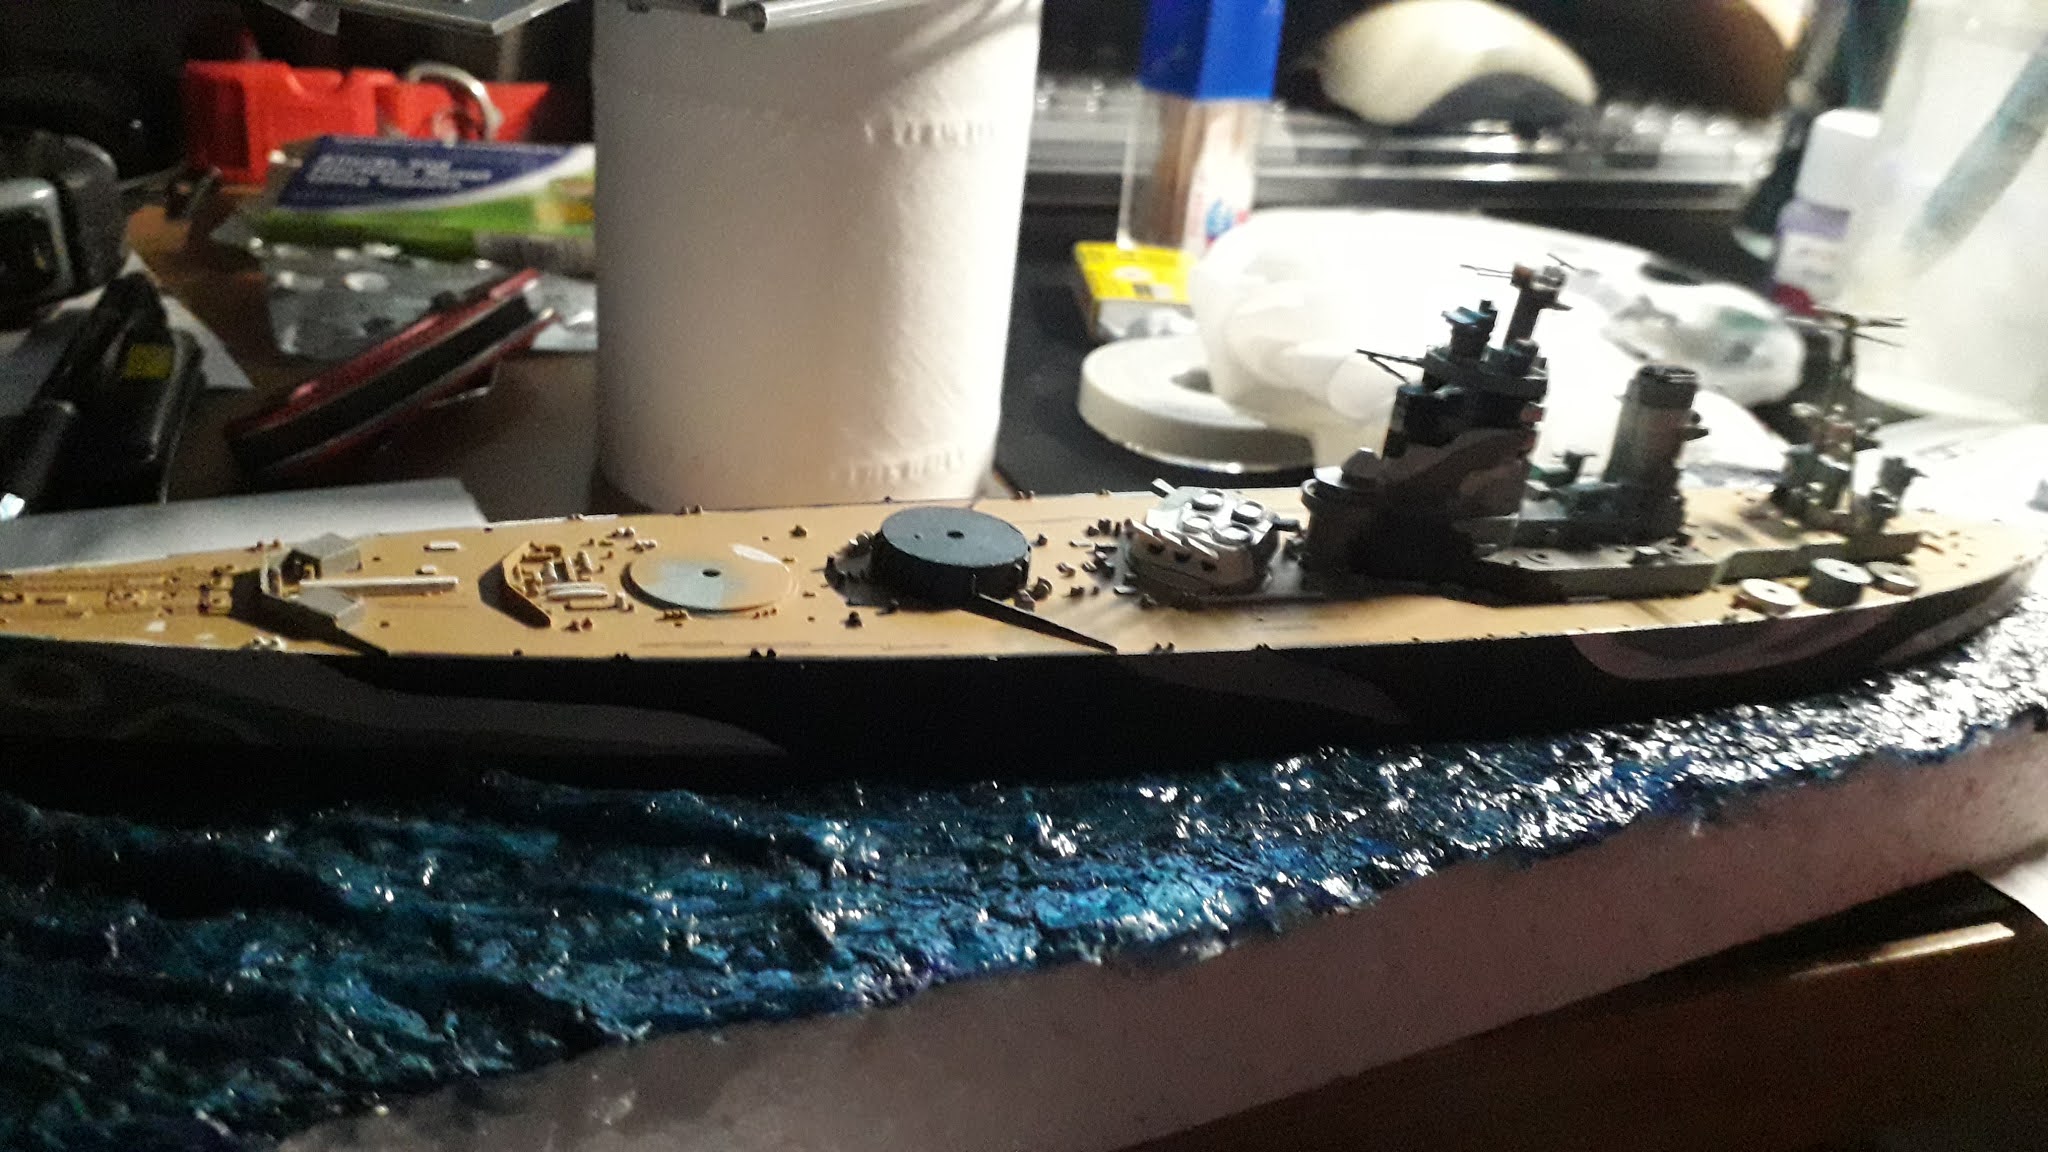
But, lets had a gratuitous shot with the turrets in place.


And then on the base!


Thursday, 11 March 2021

Ship Diorama Build Blog : HMS Rodney : Pt8

 Today is superstructure day, I spent some time detailing items on the deck, but I mainly started to colour and add the plastic parts to the superstructure island.

Aft of the island are these range finders, for some reason they look like I've painted them really heavily in this image, they're not at all....


These are very thin first coats and didn't seem to go on very well, I can only assume since washing the parts pre-build they've slowly gotten a little bit greasy from my handling them.


With that I looked back to detail the decks on the super structure too, most of this area will get rust and other weathering.

I then decided to build the mast.  Upon dry fitting I found that the rear piece here, the A-frame didn't fit, the footings needed careful and lengthy filing to make them fit into the holes in the deck, and I made a mistake.


You see I fitted the fore-mast here, connected it to the A-Frame in sheer relief that I'd gotten the latter in, after the marathon filing session.

But, of course I cocked up, and I blame the instructions here a little, I sat the little nipple on the fore mast, and thought nothing of it... but then realised a basket had to hang off of it.... GAH.


This basket is meant to be between the two, not just on the front... I think I can ignore this, my OCD won't be triggered... IT WON'T.

But I also put the rest of the mast on.  And the rear baskets.


And yes, that long boom... I broke it too... nothing a dob of superglue didn't sort, but it has a slight droop...

Around the bridge I then added the view finders and these struts were a nightmare.


Finally I wanted to see things coming together.

As per the last post I've still not picked out the deeper shade for the top of the turret, which will also go on the items atop the bridge and go on the masts.


This darker shade is either a very deep blue, or a near black.  And... well, I don't think it should be black, so I'm maybe going to mix my own aquamarine to tar black, but that will entail painting the top of the turrets the bridge top and the masts.

However, that'd ALSO mean the hull shouldn't have been tar black, so I may just go with tar black...